
I’ve been in construction long enough to know one universal truth: if you cut corners on a bathroom remodel, it will come back to haunt you. Water doesn’t forgive mistakes. That’s why when it comes to a Sacramento bathroom remodel, you need more than pretty tiles and trendy fixtures—you need a solid plan, solid work, and solid materials.
Let me walk you through a real project—and how following the right steps saved the homeowners time, money, and a whole lot of frustration.
👷♂️ The Story: A Sacramento Home with Hidden Problems
Karen and Alex had just bought a 1970s home in Sacramento’s Pocket neighborhood. The bones were good, but the bathrooms were original—tile cracking, plumbing questionable, ventilation nonexistent. They wanted a fresh, functional, and modern bathroom. But more importantly, they wanted it done right.
They asked the right questions, brought in experienced trades, and followed every key step. And the result? A bathroom that’s not only beautiful—but built to last.
Step 1: Plan for Function First
Mistake most people make? Starting with tile swatches. Karen and Alex took a better approach. They asked:
What do we need this bathroom to do every day?
Who uses it, and how?
What layout actually makes sense?
They adjusted the footprint to allow for a walk-in shower, added a double vanity for busy mornings, and upgraded their ventilation system—an absolute must in Sacramento’s fluctuating humidity.
Pro Tip: In Sacramento’s older homes, plan for layout changes early—plumbing and electrical updates take time, permits, and skilled pros.
Step 2: Budget for What You Can’t See
Everyone loves the “after” shot, but most of the budget disappears behind the walls—and that’s exactly where it should go.
Here’s what they did right:
Replaced galvanized plumbing with modern PEX
Updated the electrical panel to meet code
Installed a dedicated GFCI circuit for safety
Used cement board behind shower tile—no shortcuts with drywall
Pro Tip: Always assume your remodel will reveal hidden issues. In older Sacramento homes, outdated plumbing and electrical are common—and you must bring them up to code.

Step 3: Waterproof Everything
This one’s non-negotiable. Waterproofing isn’t where you save money.
Karen and Alex chose:
A liquid waterproofing membrane behind all wet areas
Properly sloped floors toward the drain
Sealed seams and caulking done by a pro, not a DIY YouTube attempt
Pro Tip: Waterproofing failures lead to rot, mold, and structural damage. Do it once. Do it right.
Step 4: Use Quality Materials Built for Moisture
This isn’t a living room. Bathrooms take a beating—heat, steam, water, and constant use. You can’t use cheap MDF cabinets and expect them to last.
Here’s what they chose:
Moisture-resistant cabinets with sealed edges
Porcelain tile for durability and slip resistance
Quartz countertops—no sealing needed, no water absorption
Grout sealer applied properly to prevent staining
Pro Tip: If the materials can’t handle steam, splashes, and humidity, they don’t belong in your bathroom.
Step 5: Ventilation: Your Best Defense
This is the most overlooked part of a bathroom remodel—and also the most important. Without proper ventilation, moisture builds up, mold moves in, and your beautiful remodel breaks down fast.
Karen and Alex had a new vent fan installed with a timer and a duct run properly to the outside.
Pro Tip: Never vent into an attic. That’s just relocating the problem. Always vent out.
Don’t wait!
Reach out to us today to schedule your consultation and discover how we can transform your floors into a stunning foundation for your home!
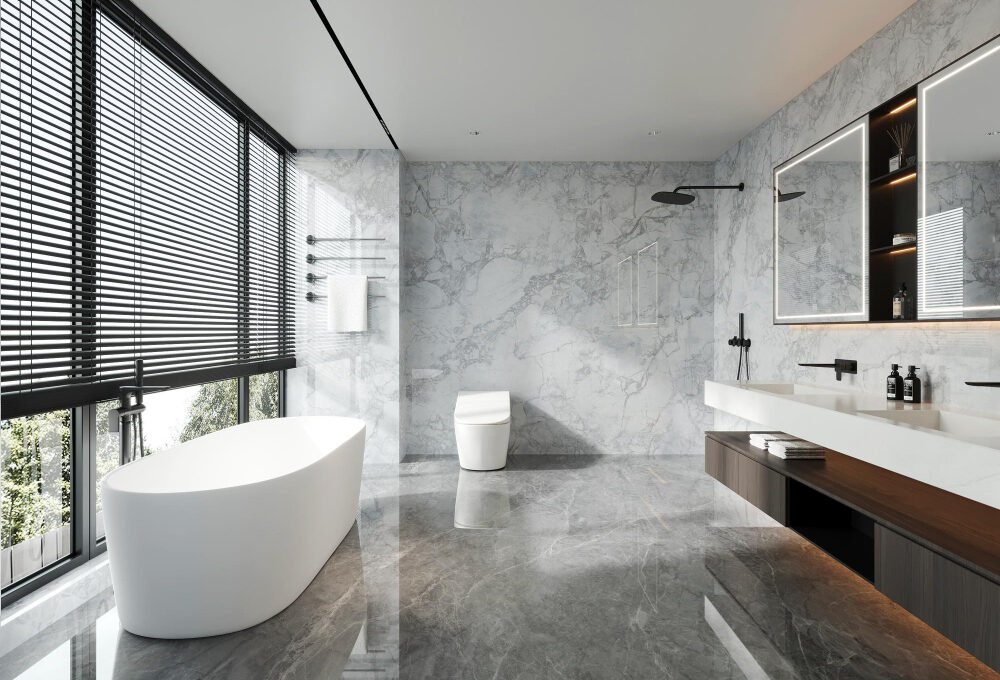
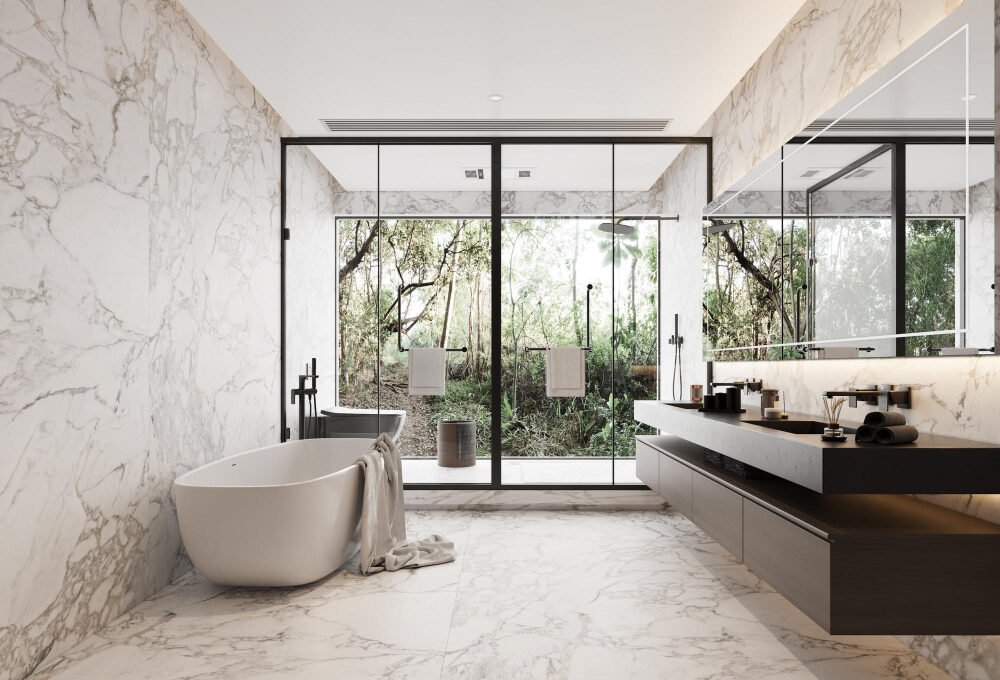
Step 6: Finish with the Right Fixtures
Only after the structure was sound and the systems updated did they move on to style—and it made all the difference. They chose:
Matte black fixtures that won’t go out of style
A frameless glass shower door for a clean, open look
LED vanity lighting for efficiency and clarity
Smart storage that didn’t eat up floor space
Pro Tip: Fixtures are easy to swap later—but waterproofing and layout? That’s forever.
Step 7: Inspect, Test, and Walk Through Everything
Before calling it done, they did a final walk-through:
Checked for leaks
Tested GFCIs
Ran the fan
Confirmed caulking and seals were complete
Because in my book? If you haven’t tested it, you haven’t finished it.
🏁 Final Word: Don’t Just Remodel—Build It Right
A Sacramento bathroom remodel isn’t about being flashy. It’s about creating a space that works, that lasts, and that keeps your home safe.
Here’s your checklist:
✅ Plan for real-life use
✅ Budget for the things you can’t see
✅ Don’t cheap out on materials or waterproofing
✅ Bring everything to code
✅ Focus on function, then finish with style
Karen and Alex now have a bathroom that’s not only beautiful—it’s bulletproof. And that’s what every homeowner deserves.