
A reliable flooring contractor can transform a home from the ground up—literally. Floors play a major role in comfort, durability, noise control, and overall design flow. Yet many homeowners underestimate how much planning goes into selecting and installing the right flooring material. A step-by-step approach makes the process clearer, easier, and more successful, especially for California homes that face unique climate and lifestyle demands.
Below is a practical breakdown of how a contractor guides homeowners through the flooring upgrade process, ensuring every stage supports long-term performance.
Step 1: Evaluate the Home’s Layout and Lifestyle Needs
A contractor begins by assessing how each room is used. High-traffic areas like kitchens, hallways, and living rooms require surfaces that can withstand constant foot traffic, spills, and abrasion. Bedrooms or home offices may allow for softer, warmer materials.
They also consider California’s climate. Coastal moisture, inland heat, and seasonal humidity changes affect how flooring expands, contracts, and ages. A contractor recommends materials suited to these conditions—preventing swelling, buckling, or uneven wear.
Step 2: Discuss Material Options and Their Strengths
Based on lifestyle and environmental factors, the contractor explains the advantages and limitations of each flooring type:
• Laminate for affordability and scratch resistance
• Luxury vinyl for waterproof performance and comfort
• Hardwood for timeless warmth and high resale appeal
• Engineered wood for stability in fluctuating climates
• Tile for maximum durability and moisture resistance
This stage helps homeowners narrow down choices before committing to a specific design.

Step 3: Inspect the Subfloor
A key step—often overlooked by DIY installers—is analyzing the subfloor. A contractor checks:
• Levelness
• Moisture levels
• Structural soundness
• Existing damage
An unprepared subfloor leads to squeaks, uneven planks, cracked tile, and premature wear. Addressing subfloor issues early saves major costs later.
Step 4: Provide Design and Layout Planning
Flooring affects how large or cohesive a space feels. A contractor helps homeowners choose plank direction, tile layout, and transitions between rooms.
They consider:
• Natural light direction
• Open-concept flow
• Furniture placement
• Room shape
Small changes—such as running planks parallel to the longest wall—can dramatically improve the room’s appearance.
Step 5: Mid-Project Guidance with a Flooring Consultant
At the planning midpoint, a knowledgeable flooring consultant steps in to fine-tune material selection and overall design. Consultants compare finish options, recommend wear layers or protective coatings, and help match flooring with cabinetry, wall colors, or countertops.
They also answer practical questions like:
• How does this material feel underfoot?
• Will pets or kids impact long-term performance?
• Is this finish suitable for an open-concept layout?
Their goal is to ensure homeowners choose a floor that meets both aesthetic and functional needs.


Step 6: Prepare the Installation Area
Before installation begins, the contractor handles key prep work:
• Removing old flooring
• Leveling uneven areas
• Installing underlayment
• Adding moisture barriers where needed
• Adjusting doors or trim
This ensures the new flooring installs smoothly and performs reliably.
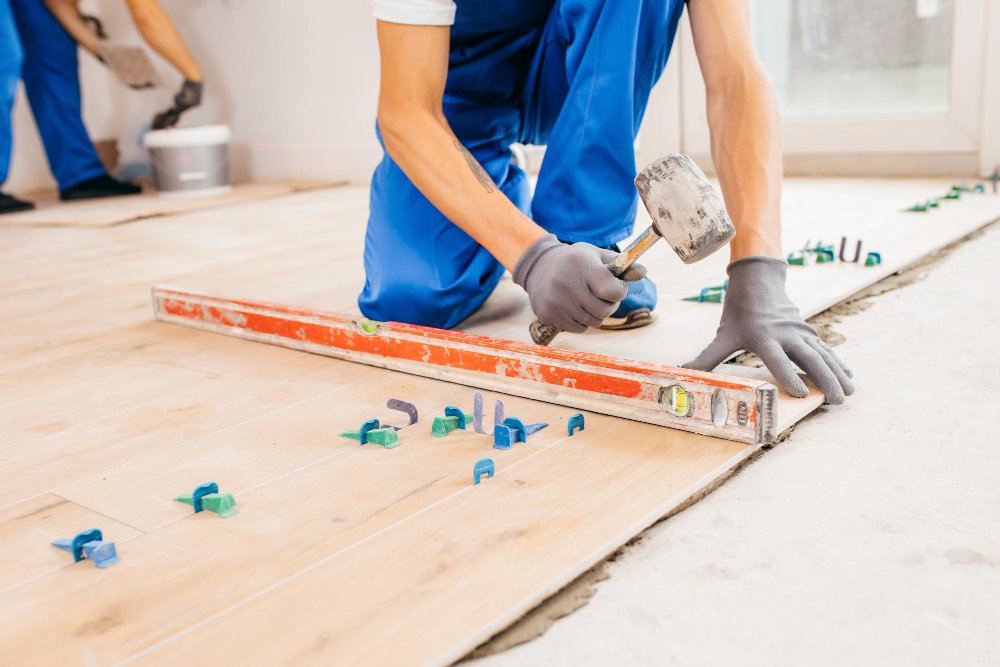
Step 7: Professional Installation
Expert installation makes a significant difference in appearance and durability. Contractors ensure:
• Planks lock tightly with no gaps
• Tiles align perfectly with even grout lines
• Cuts are clean around corners and thresholds
• Transitions flow naturally between flooring types
These details prevent the common issues seen in rushed or DIY jobs.
Don’t wait!
Reach out to us today to schedule your consultation and discover how we can transform your floors into a stunning foundation for your home!
Step 8: Finishing Touches and Quality Checks
After installation, the contractor inspects every area to verify:
• Planks sit evenly
• Trim and moldings are securely attached
• Moisture protection is secure
• All transitions are smooth and safe
They also provide guidance on initial cleaning and the curing period for certain materials.
Step 9: Final Review with a Flooring Specialist
As the project wraps up, insight from a seasoned flooring specialist helps homeowners understand long-term care. Specialists recommend the right cleaning products, suggest protective pads for furniture, and outline maintenance tips that extend flooring life.
They also ensure the installation meets the expected performance standards and that the chosen material aligns with the homeowner’s long-term goals.
Step 10: Enjoy a Durable, Beautiful New Floor
Once complete, homeowners immediately notice the difference. Rooms feel more cohesive, brighter, and more comfortable. The right flooring reduces noise, improves insulation, and enhances resale value. With professional guidance, the upgrade feels intentional rather than overwhelming.
A successful flooring project blends planning, expertise, and careful execution. With a contractor managing installation, a consultant refining design decisions, and a specialist supporting long-term care, homeowners gain a floor that performs beautifully and elevates the entire home.